 A client recently asked me to provide on-site reporting and same-day summary preparation services for a day-long conference in downtown DC. The job provided me with an excellent opportunity to try out a combination of various tools and techniques — some new, some old — that I had used separately for individual projects, but until then had not used together.
All the pieces worked and played well together, and I was so pleased with the results that I wanted to share them with other writers who are, like me, always looking for ways to improve their writing and editing techniques in the field. Over the course of three brief posts I’ll be summarizing my experiences before, during, and after the conference.
Before the Conference
Although for on-site reporting projects I have generally preferred to use my laptop (a late-2013 MacBook Pro) for taking notes and recording, for this trip I wanted to travel light because I knew I would be taking the Metro and walking a lot. That meant using my trusty iPad and its Logitech Ultrathin keyboard cover. Here’s how I got my iPad ready:
Note-Taking Tools
I use a bare-bones notes app for writing in the field and then convert the final product into the client’s preferred document format (usually Word) when I am ready to send it to them. This approach is the easiest way to work in the field; the fewer things getting in between their words and your screen, the better off you are.
Information Architects’ iA Writer is my go-to basic text editor for my mobile devices and on my Mac. As well as providing a clean and well-thought-out interface, it’s also robust and reliable — an essential feature, incidentally, for any hardware or software that you plan to use in the field.
The one sacrifice that I had to make by choosing my iPad over my laptop for this trip was to give up Smile Software’s TextExpander text expansion software. I use TextExpander extensively when writing, particularly for live transcription projects (which is why I first purchased it). I have developed an extensive personal vocabulary of shorthand abbreviations for long words and even whole common phrases that allow me to stay on top of rapid, dynamic monologues and dialogues and capture them with remarkable accuracy.
While the latest version of TextExpander offers an on-screen shortcut keyboard, my experience with on-screen keyboards is that they just aren’t as reliable as external Bluetooth keyboards for extended writing. Plus, editing keystrokes such as delete and copy/paste, and the arrow keys, aren’t available in on-screen keyboards — and trust me, you will need those keys at some point.
Audio Recording Tools
Because I would be recording about five hours’ worth of audio, I made sure that I would have enough space for the audio files. Using the recordings from a previous meeting as a guide, I estimated that 500mb would provide me with plenty of room with an ample margin.
If you need to free up space quickly, deleting videos and music are the quickest way to go — you can always download them again from the cloud or your computer later if you’ve backed up your device (you have backed up your device, right?). If you subscribe to multimedia-rich magazines in Newsstand, try deleting them too. Check out Settings –> General –> Usage to find your worst offenders.
To make and manage audio recordings, I used eFUSION’s Voice Recorder HD, a simple-to-use recording app that has two valuable features: a handy “audio boost” filter (great for bringing out faint sounds) and the ability to sync painlessly with Dropbox and iCloud (instrumental for allowing me to swap the large audio files to my Mac quickly when I got back to the office).
Depending on the size of the venue, you might need an external microphone. The internal mic on my iPad is good for room-sized venues, especially with the “audio boost” capabilities of the recording software. For other situations, I use a very simple, portable, and dependable Olympus digital voice recorder. It has a good microphone that can pick up faint and distant sounds clearly, a large flash memory, and a built-in USB plug for easy transfer to my laptop.
Having a separate recording device provides important redundancy. If you use one device to record and write, you run the risk of losing everything. For this particular trip, I decided to take that risk because I knew that the client was videotaping the event, and would be able to make the recordings available to me afterward if I needed them.
Advance Work
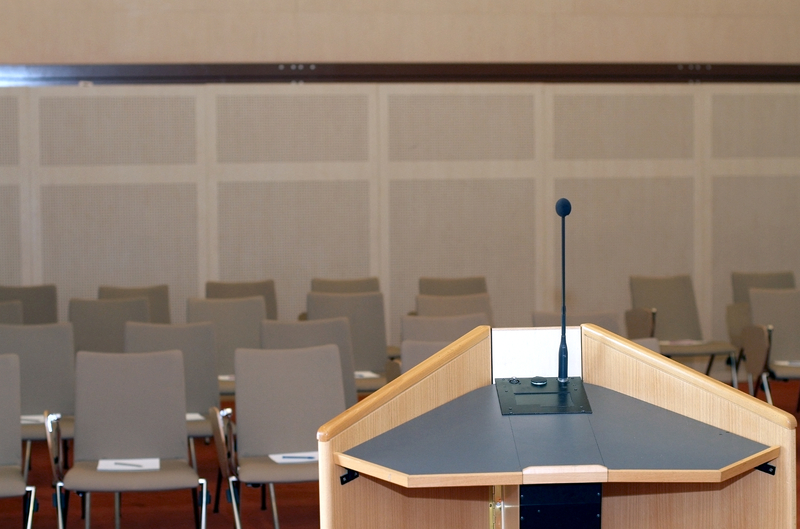
It’s important to know the layout of the room in advance so you can plan your gear needs accordingly. Also, take some time to plan your trip. How long will it take if everything goes smoothly, and how much contingency time should you build in? If you’re taking public transportation, where’s the nearest stop? If you’re driving, where do you park? Don’t wait to get there to figure those things out. A few questions and a little detective work can go a long way.
For this trip, a quick look at the venue’s floor plan and photos taken at last year’s conference — both readily available online — helped me determine that the venue would be small enough to allow me to get ample sound from the iPad’s internal mic and that I would be able to set up near an outlet. I was able to use that information to select the gear that I would use on this job.
Typing and Recording Surface
I recently purchased a small but sturdy folding tray table for those times when the venue can’t guarantee a dedicated place for me to set up my gear, or can’t provide one in a spot that’s both convenient to a wall outlet and with a clear line-of-sight to the podium or stage.
I highly recommend getting one; they’re not expensive, and they can save you a lot of trouble when you get to an under-equipped venue. It provides a stable surface for typing and a vibration-free support for your microphone (if you need one). A portable writing surface affords you a surprising amount of flexibility that you may not even realize that you needed — and shows your client that you came prepared.
For this particular job, my client had thoughtfully arranged in advance for a table in just such a location, so I didn’t have to schlep mine on the Metro.
Cables
Don’t forget the cables. In addition to a long USB power cable and associated brick, I also brought along the brick’s heavy-duty extender cable. When running a power cord along a high-traffic area, you want something that’s going to be able to handle being stepped on and rolled over. And unless the venue has good AV tech people, consider bringing your own duct tape to secure the run of cable to the floor.
Although it may sound like excessive caution, don’t forget to test your cables before you go. The peace of mind that comes from having 100% confidence in your gear just can’t be beat when you’re in a hectic environment like a conference.
That’s how I prepared for the all-day conference. In my next post, I’ll talk about how I set everything up at the venue and recorded the event.
Thank you. I appreciate the clarity and details in the text and the openness of the author to share such useful information.